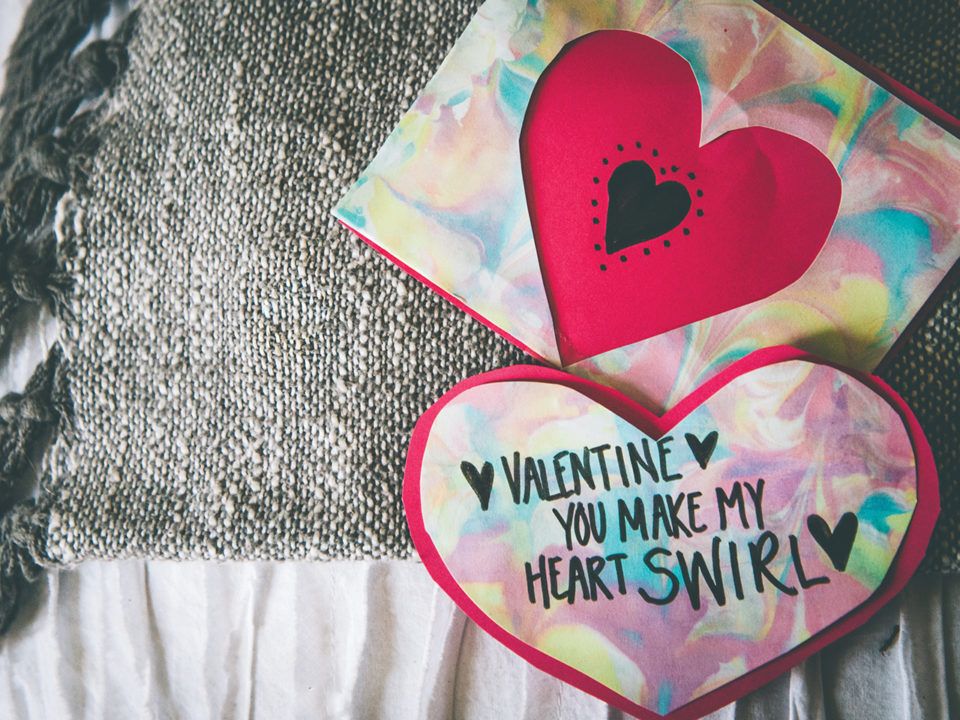
Store bought valentines are nice, but wouldn’t it be fun to take your crafting abilities to the next level and make something unique? This technique is simple but produces an impressive outcome, and it’s great for all ages. Carve out some after-school, evening, or weekend time for valentine crafts and a little extra quality time with your kids.
What you’ll need:
- Shaving foam
- Food coloring (or liquid watercolor paint)
- Eye dropper or plastic medicine syringe
- Chopstick
- Baking dish
- Cardstock
- Squeegee (or piece of cardboard)
Directions:
- Spray an even layer of shaving foam to cover the bottom of the dish.
- Add food coloring to water in small bowls or cups and stir. Add more food coloring for more intense color and less food coloring for lighter color. Repeat for each color.
- Use dropper to drop first color on the shaving foam. Repeat with other colors.
- Take the chopstick and begin gliding and swirling through shaving foam to create a marbled effect.
- Gently press cardstock into marbled shaving foam, then pull cardstock out and scrape excess shaving foam off with a squeegee or piece of cardboard.
- Set cardstock aside and let dry.
- Use the marbled paper as your valentine card base, layer it with other decorations, or cut or punch hearts and shapes from the marbled paper to add to other valentines.
One application of food coloring will last through a couple sheets of cardstock. Then, add more color and begin again.
Extras
- Stitch around marbled hearts with bright embroidery floss, or outline by gluing ribbon or yarn around the edges.
- Decorate with glitter glue or jewels for added bling.


