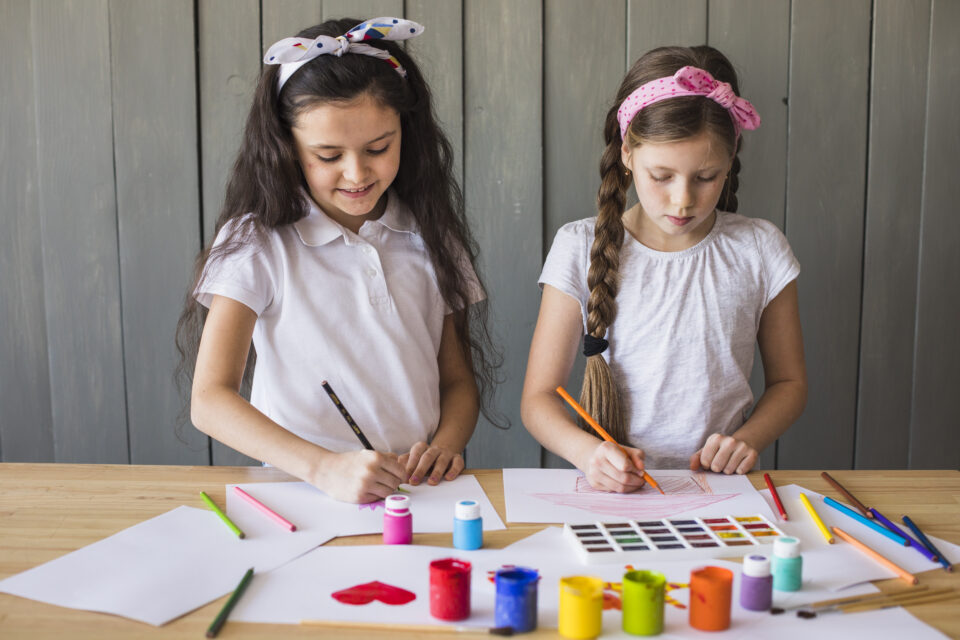
Earth Day is coming up, and what better way to spend spring break than being eco-friendly AND musical? At Neighborhood Music, we’re big fans of making music all the time! Here are some ideas from our wonderful teachers for instruments you can make using things you probably already have around the house.
What instruments can kids make at home? With just a few household supplies, kids can make a tissue box ukulele, a rice-and-beans shaker, and a set of rhythm bones — all great for Earth Day music activities.
1. How to Build a Tissue Box Ukulele
A ukulele has 4 strings — but your homemade version can have as many rubber band “strings” as you like!
Supplies Needed
- An empty tissue box – any size will do!
- An empty paper towel roll
- Popsicle sticks (alternates: twigs or pencils)
- Rubber bands – these will need to be big enough to fit around your tissue box
- Scissors
- A pencil or Sharpie for marking
- Optional (but not really!): Stickers, paint, markers, glitter, glue, ribbons – things to decorate your ukulele!
Directions to Make a Tissue Box Ukulele
- Prepare your tissue box: Use your paper towel roll to trace a circle in the short side of your tissue box and cut out the hole. Glue your paper towel roll into the hole – this will attach the “neck” of your ukulele to the body!
Tip: To more securely attach the paper towel roll to the tissue box, make several short cuts into the end of the paper towel roll (about a half an inch). Stick the cut end of the paper towel roll through the hole in the tissue box and then fan out the cuts to make a sort of star shape. Glue the “star” to the inside of the tissue box!
- If desired, cut a larger square (or other shape!) out of the top of your tissue box, where the hole for the tissues already is. This will become the front of your ukulele.
- Decorate! Paint your box, add stickers or ribbons or glitter – make it yours!
- Wrap rubber bands around the box to create “ukulele strings” – you can use as many as you like! (Pop quiz: how many strings does a ukulele have?)
- Once your “strings” are in place, place a popsicle stick (or a twig or a pencil) underneath the rubber bands on either side of the hole in your ukulele. These will make what is called a “bridge” – the bridge elevates your strings so that they ring clearly instead of buzzing against your box.
- Start a family band! Jam out to your favorite songs while dancing around the living room. Be a rock star!
- Start a family band, jam out to your favorite songs, and be a rock star!
2. How to Make a R+B (Rice + Beans) Shaker
This easy percussion instrument is great for all ages — and a perfect way to reuse paper plates!
Supplies Needed
- Two paper plates
- Dried beans or dried rice – pick your favorite!
- A stapler
- Optional (but not really!): Stickers, paint, glitter, glue, ribbons – things to decorate your shaker!
Directions to Make a Rice and Beans Shaker
- Decorate your plates! It will be easier to do this before you construct your shakers. The bottom of the plate (the part that sits on the table when you’re eating) will be the outside. The inside of the plates will be hidden at the end, but you can decorate them just for yourself if you like!
- Begin attaching your plates! Put them together bottom sides out and staple three quarters of the way around. Make sure to only go about ¾ of the way around – you’ll need a hole to put your beans or rice in!
Staples are a quick and easy way to attach your plates, but you can get creative with ribbons or glue instead if you like! Just be careful not to leave gaps that are too big – your filling will fall out!
- Fill your shaker up with your choice of dried rice or dried beans. You could also use beads or gravel – experiment with a couple of different things to see how they change the sound!
- Seal up the rest of the shaker by stapling the last part closed.
- Shake it!
Tip: Ribbons or glue work just as well as staples — just make sure there are no gaps large enough for the filling to escape.
3. How to Create Paint Stirrer Rhythm Bones
Rhythm bones are one of the oldest percussion instruments in the world and are still widely played today! Check out the Rhythm Bones Society at www.rhythmbones.com for tips, tricks, and tutorials.
Supplies Needed
- Paint stirrers
- Something to cut them with: a small handsaw or garden shears work well!
- Sandpaper
- Optional (but not really!): Markers or paint to decorate your bones!
Directions to Make Rhythm Bones
- Cut your paint stirrers to size – parents should do this!
The size is up to you, but somewhere between 6 and 8 inches is usually best. Go smaller for smaller hands and larger for larger hands! You’ll need two “bones” per set.
- Smooth out any rough edges using your sandpaper.
- Decorate.
- Play your bones! Traditionally, bones can be played either one-handed or two-handed. If you’d like to play two-handed like Dom Flemons, make two sets!
Bones can be played one-handed or two-handed. Visit the Rhythm Bones Society website for more on how to play.
Ready to Take Your Musical Skills to the Next Level?
If these DIY instruments sparked a love of music, come see us at Neighborhood Music in Aurora! Our teachers range from Denver School of the Arts alumni to touring and gigging musicians, and they teach everything from ukulele and percussion to harp, banjo, and lots in between. Our students gain a unique perspective throughout their time learning with us — and may even have the opportunity to see their teachers perform live!
www.neighborhoodmusicstanley.com
Sophie Lichens General Manager, Neighborhood Music Stanley